How to add a user to the Hyper-V administrators group
This step-by-step tutorial will show you how to add a user to the Hyper-V administrators group on Windows 10 and 11.
Adding a user to the Hyper-V administrators group will allow non-administrators to control Hyper-V.
Members of the Hyper-V administrators group have complete and unrestricted access to all features of Hyper-V.
Add a user to the Hyper-V administrators group
-
Click on the Windows start menu button.

- Type computer management.
-
Right-click on Computer Management > Run as administrator.
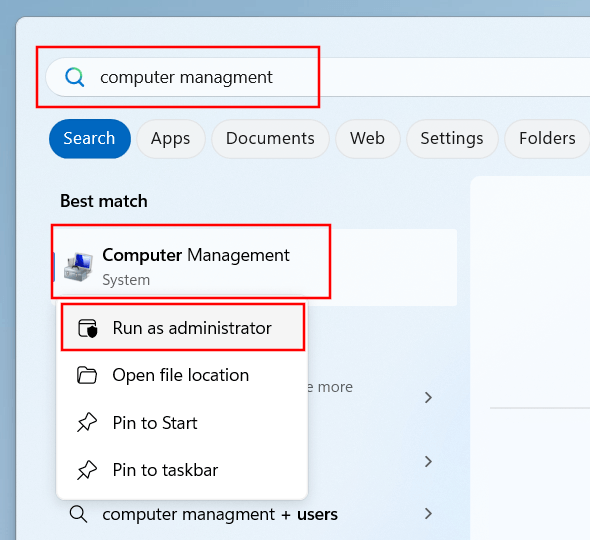
- When the 'User Account Control' window appears, you click Yes. Depending on your settings, you may need to enter the administrator password and then click Yes.
-
Under System Tools, you double-click on Local Users and Groups to expand it.
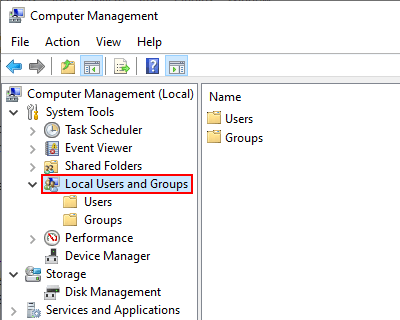
- Click on Groups.
-
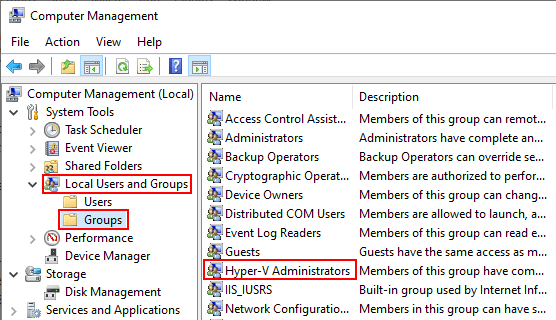
In the right section, you double-click on Hyper-V Administrators.
-
A 'Hyper-V Administrators Properties' window will appear and here you click on the Add button in the bottom left corner of the window.
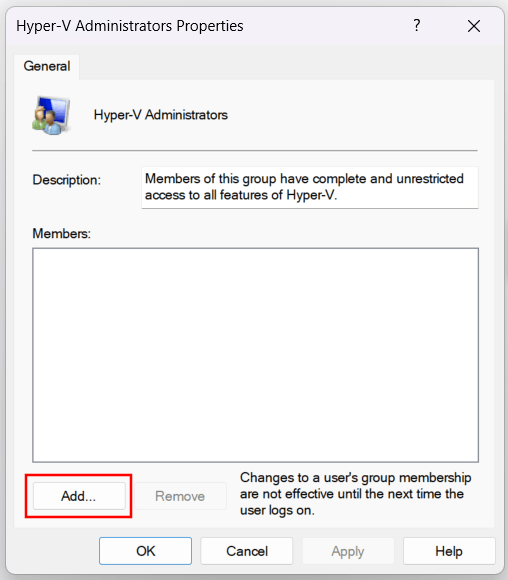
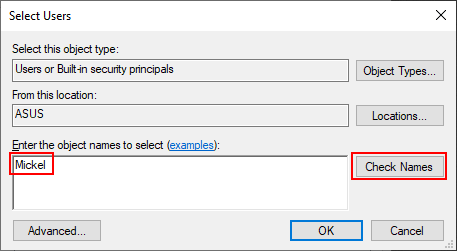
- A 'Select Users' window will appear and here you type the username that you want to add to the Hyper-V administrators group.
-
Click on the Check names button.
-
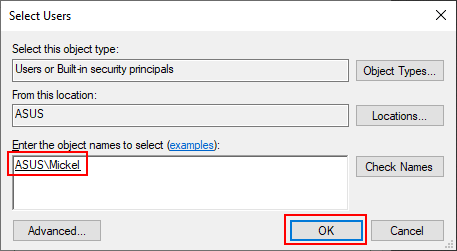
If the correct [computer name + username] combination appears, you click on the OK button.
- Click on the Apply button at the bottom of the 'Hyper-V Administrators Properties' window.
- Click on the OK button.
- Restart your PC.
The user is now added to the Hyper-V administrators group and has complete and unrestricted access to all features of Hyper-V.
Related: